
News
How to Remove a BMW Rear Badge (Without Damaging Paint)
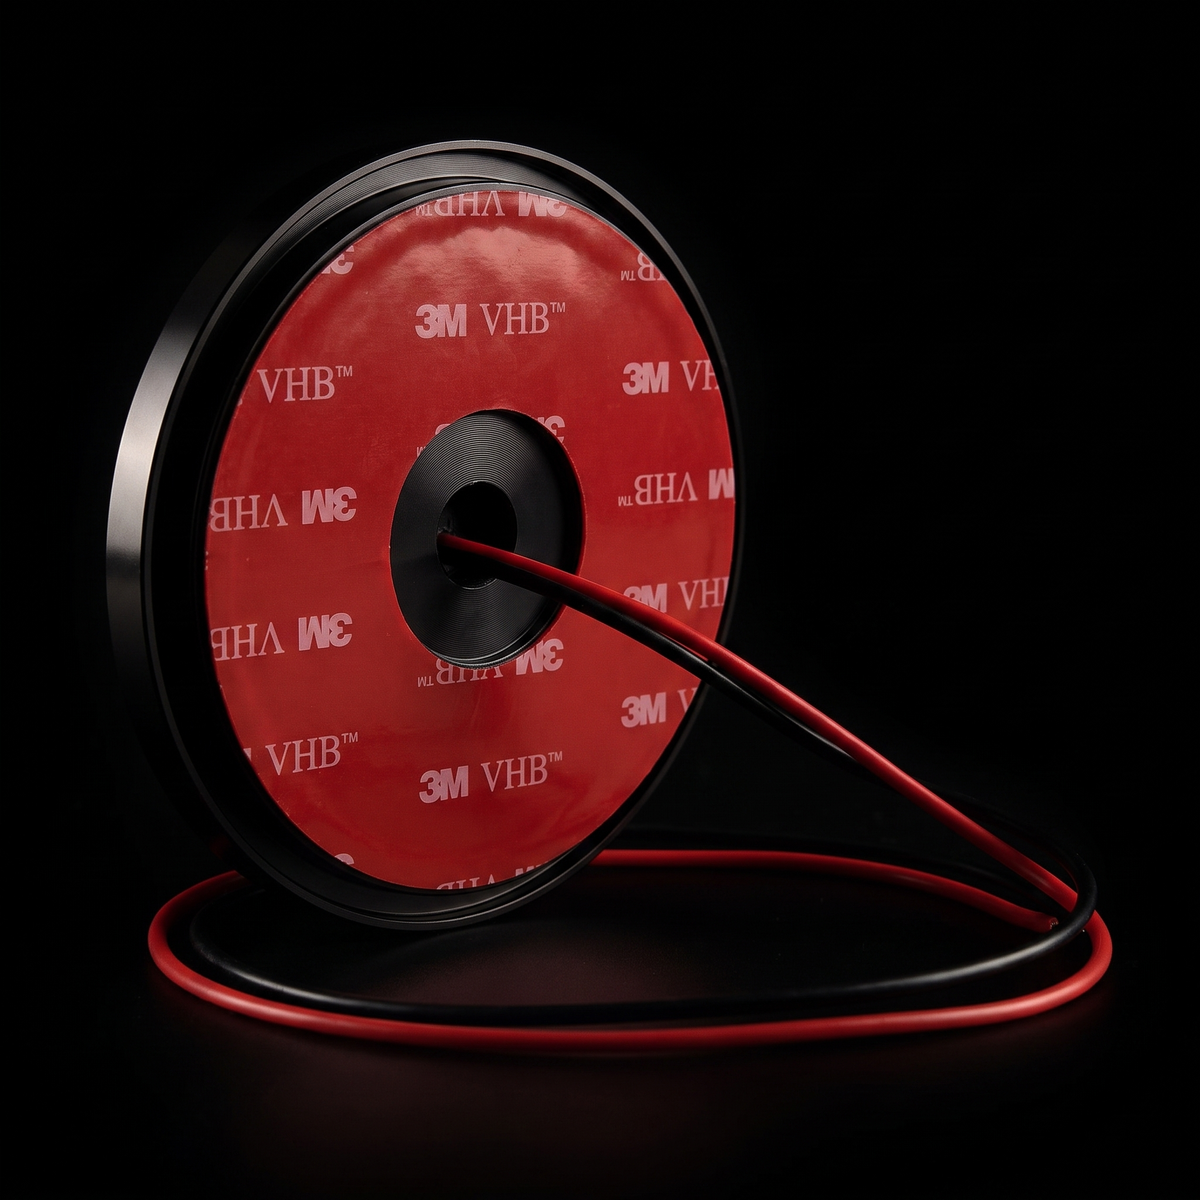
Ten minutes, zero paint damage. Whether you're debadging, swapping a tired roundel, or installing a digital emblem, removal is the step where people wreck their trunk lid. Here's the exact process detailers use.
TOOLS What you'll need
- Hair dryer (or heat gun on LOW) — softens the foam adhesive
- Fishing line or dental floss — your cutting tool, kinder than any blade
- Plastic trim tool — never metal, never a screwdriver
- Adhesive remover — 3M General Purpose or Goo Gone
- Microfiber cloth + spray detailer — for the final wipe
01 Warm the badge
Keep the dryer 10–15cm away and moving in circles for 60–90 seconds. The target is warm-to-the-touch — around 50–60°C. You're softening the adhesive foam behind the badge, not baking your clear coat.
02 Saw with the line
Slide the fishing line behind the top edge and work it down in a sawing motion, side to side. The adhesive gives way in strips. If it fights back, add 30 more seconds of heat — never more force.
03 Meet the two pin holes
With the badge off you'll see two small alignment holes in the trunk panel. Every BMW has them — they locate the factory roundel. They're also the reason a HALO digital emblem installs with no drilling on almost all models: antenna wire through one, power through the other.
04 Clean to bare paint
Soak the leftover foam with adhesive remover, wait a full minute, and roll the residue off with your thumb. Finish with spray detailer and a microfiber. You should have a perfectly clean 74mm or 82mm mounting face.
05 Know your size before you order anything
Modern platforms (G20, F10, G30, X3/X5) run 74mm rear roundels; classics (E36, E46, E39, E70) run 82mm. Full chart in our fitment guide — or fit both with one unit.
HALO fits both 74mm and 82mm BMW rear badges — one unit, nothing to measure. A real-time animated screen where your roundel used to be.
Pre-order HALO — $189.99 →FAQ Quick answers
Will removal void my warranty?
No — the badge is a cosmetic part attached with adhesive. Removal doesn't touch anything mechanical or electrical.
Can I re-stick the original badge later?
Yes. Clean it, add fresh 3M VHB adhesive pads, align with the pin holes, press for 30 seconds. Factory look restored.
What about the front/hood badge?
Same process, but hood badges on many models use plastic grommets instead of adhesive — pry gently from the edge with a trim tool.